

Thankful Turkey Craft for Meaningful Thanksgiving Writing
Before the scissors and glue come out, give children a little time to think about what makes their days special. A friend who saves them a seat, a favorite place to read, or someone who helps when a job feels hard can all become ideas for a Thankful Turkey.
This colorful Thankful Turkey craft and writing activity gives those ideas a place to land. Children draw or write on the feathers, then assemble a turkey with wonderfully wiggly accordion legs. Here’s a simple way to use it in your classroom or homeschool.
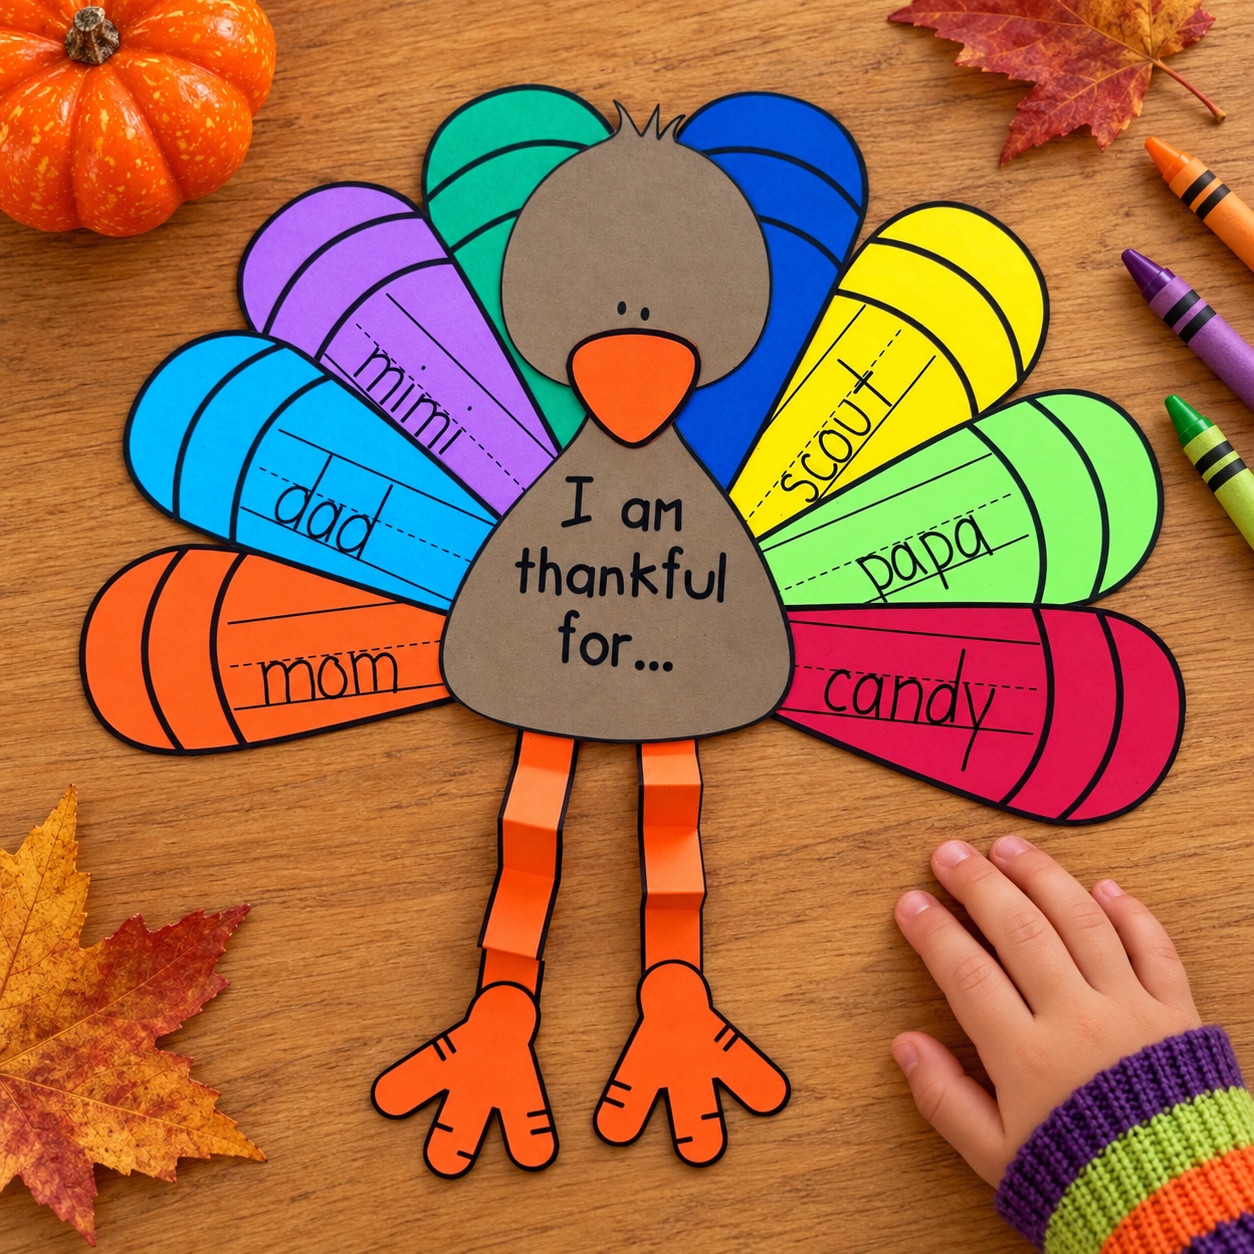
Start with a conversation about gratitude
“What are you thankful for?” is a big question. Try a few smaller prompts before children begin:
- Who helped you recently? What did they do?
- Where do you enjoy spending time?
- What is something you like doing with another person?
- What made an ordinary day a little better?
A favorite toy or snack can absolutely belong on a feather. Gently widen the conversation to include people, places, and experiences, too. Model one specific example: “I’m thankful for the librarian because she helps me find books I enjoy.” Then invite children to think of their own ideas rather than copy a class list.
Choose the printing option that fits your day
Gather the templates, paper, pencils or crayons, scissors, and glue. Each turkey uses one body, eight feathers, two leg strips, and two feet.
Printing on colored paper? Copy the bodies on brown, choose several colors for the feathers, and use orange for the legs, feet, and separate beaks. The colored-paper body template has two bodies per page.
Printing on white paper? The body, with its beak already included, is on the same page as the two leg strips and two feet. That means one combined body-and-parts page per child, plus the feather pages, with fewer separate sheets to sort before you begin. Children can color their own pieces.
Choose lined or unlined feathers. They print four to a page, so plan eight feathers per child. If you want to skip the coloring step, printing on colored paper keeps that part of prep simple.
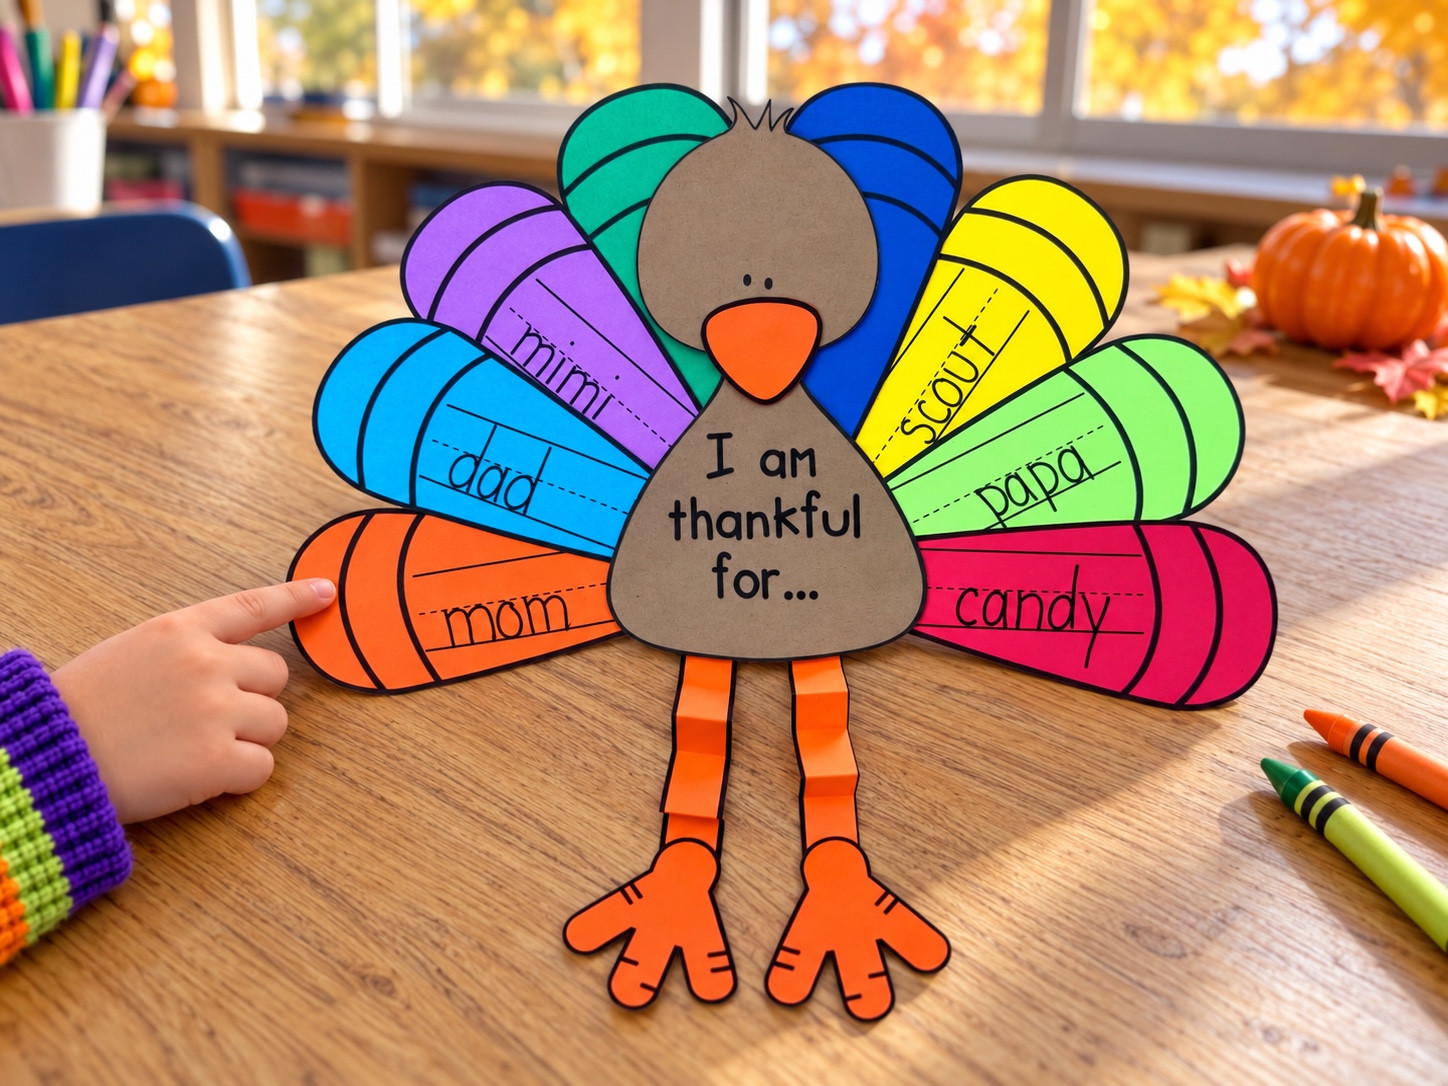
Make room for different writers
You can use the same craft with different writing expectations:
- Pre-K: Invite children to draw or dictate their ideas. An adult can write their words, and pre-cut pieces are an option.
- Kindergarten: Try pictures with labels, beginning sounds, or a word bank. Ask children to tell you why one idea matters.
- First and second grade: Invite short written responses and one or two sentences explaining a thankful idea, using a separate sheet if more space is needed.
Match the amount of writing to the child, not the number of feathers. Pictures and words can share the same turkey. For a mixed-age homeschool group, younger children can dictate while older children add a reason.
Draw and write before gluing. Flat, unattached feathers are easier to work on. Keep the narrow ends clear because that is where the feathers tuck behind the body.
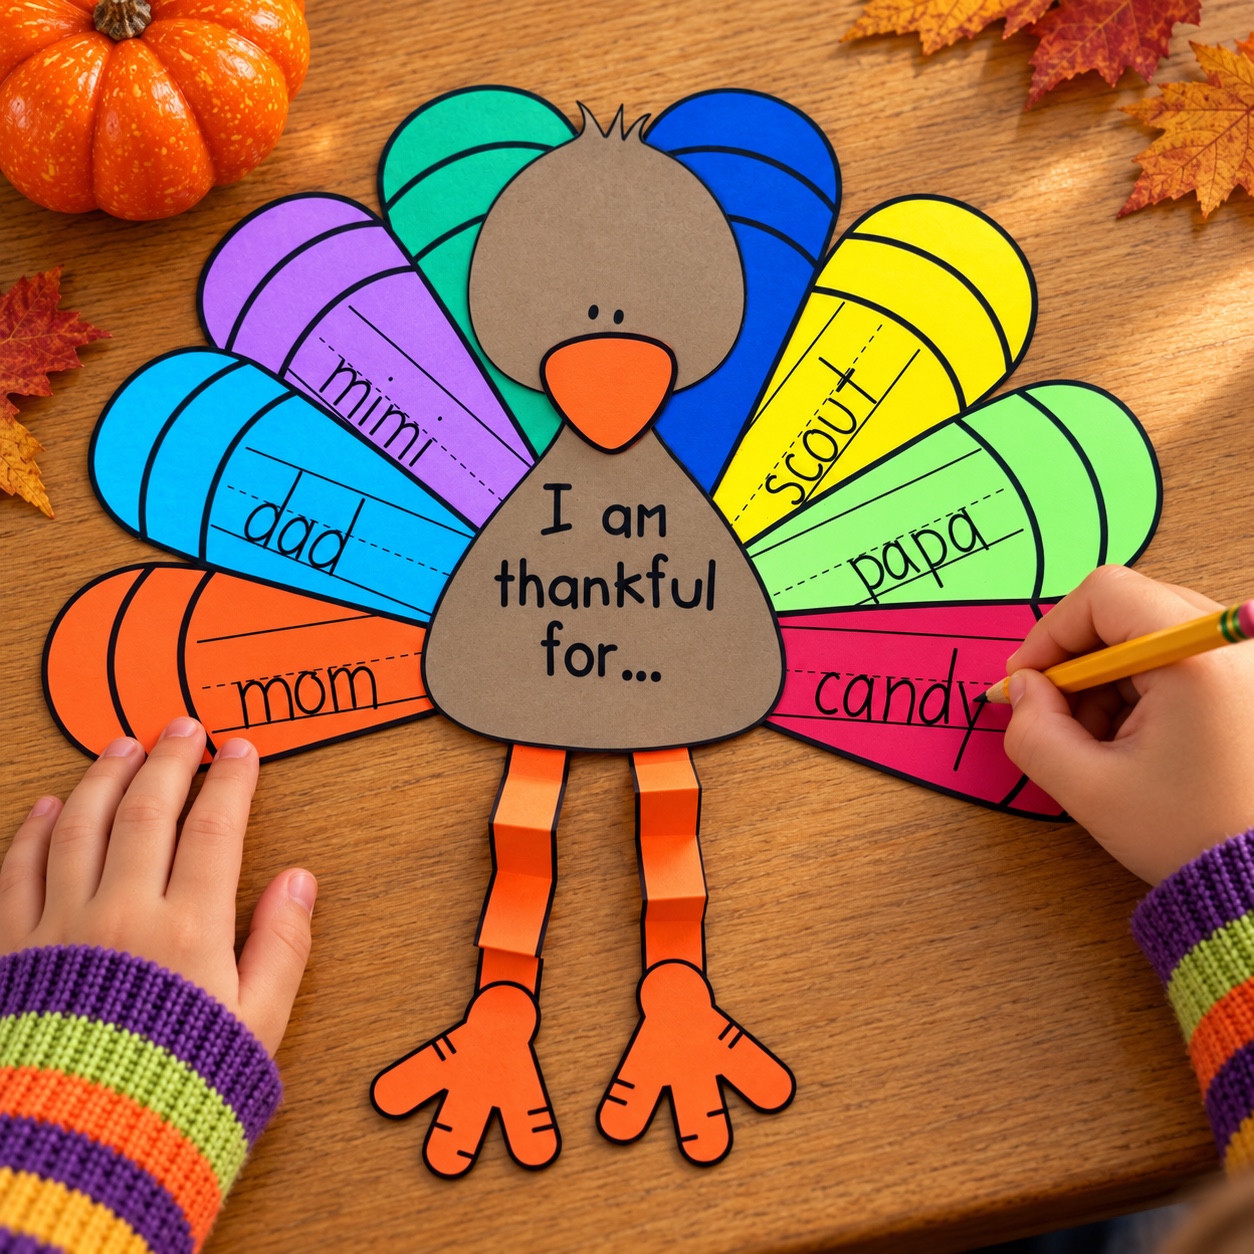
Assemble the turkey after the thinking is done
- Color any white-paper pieces and cut out the templates, with help as needed.
- Arrange the eight feathers in a fan behind the body. Check that the pictures and words will stay visible before gluing.
- Add the separate beak if you are using the colored-paper body.
- Fold each leg strip back and forth like an accordion. Attach the legs and feet.
There is no need to squeeze the whole activity into one sitting. You can talk and plan first, draw or write next, and save assembly for another session.
Add an optional read-aloud
Bear Says Thanks by Karma Wilson, illustrated by Jane Chapman, is a sweet companion for a conversation about friendship and gratitude. After reading, ask, “What can friends give each other besides things?” Let that question lead into the feather ideas. The book is an optional addition, not something you need to complete the craft.
Invite sharing without putting anyone on the spot
Offer children the chance to share one feather and explain why they chose it. A partner can listen and tell back what they heard. Keep personal sharing optional, and let children choose an idea they feel comfortable discussing. They can also share privately with you.
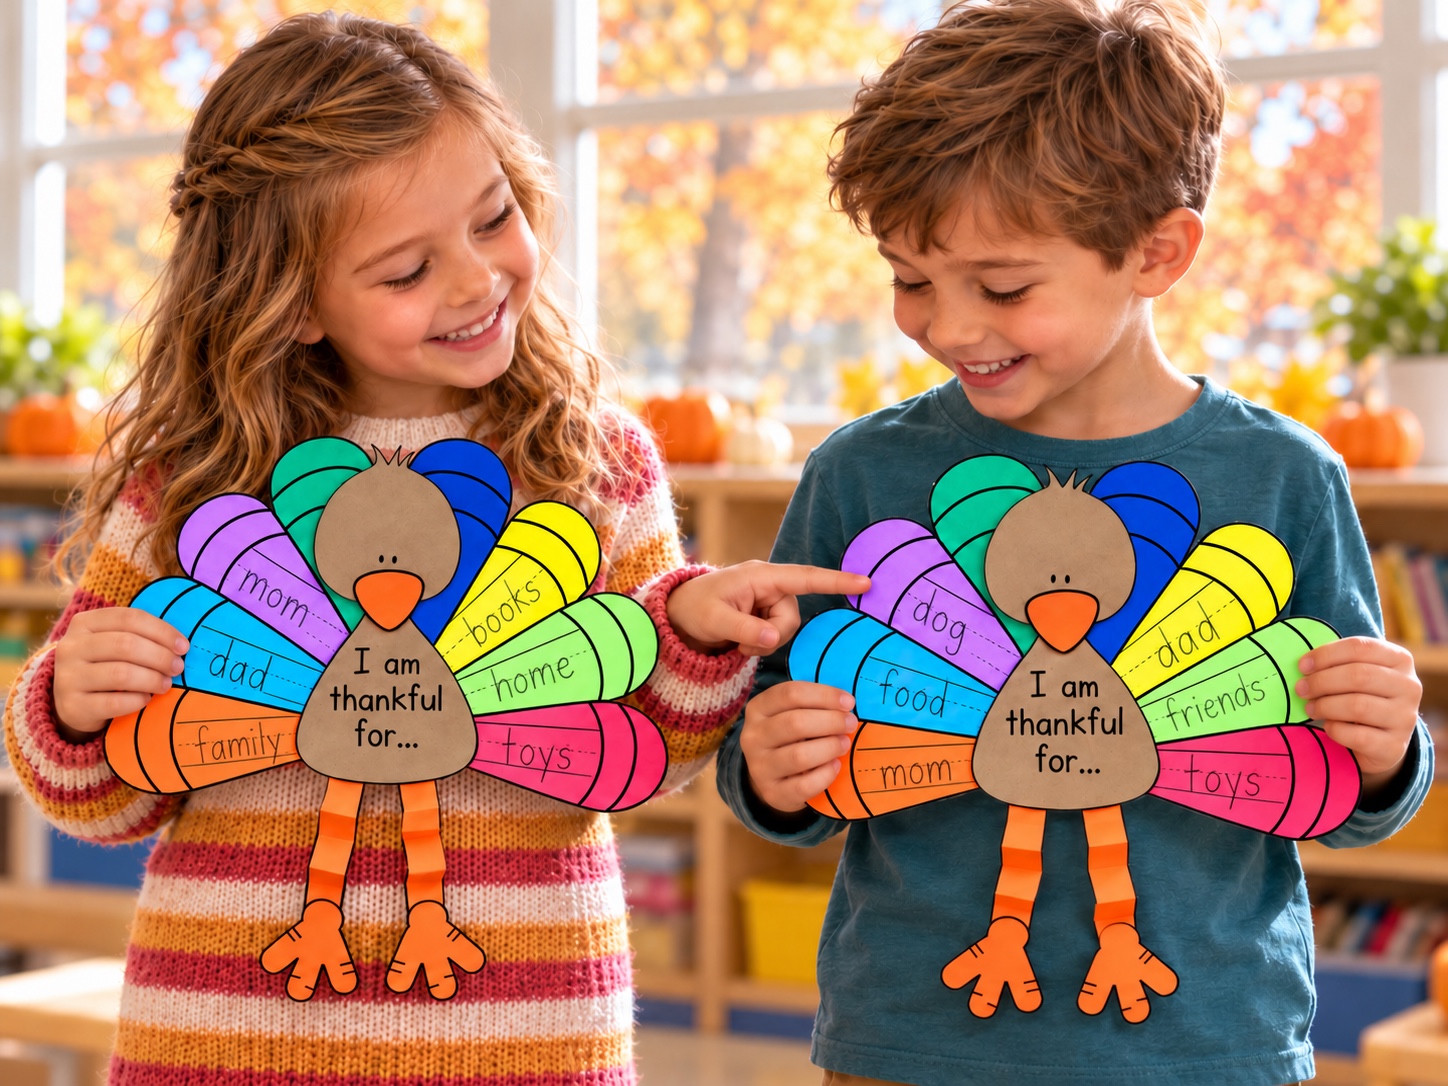
Create a November bulletin board
Display the finished turkeys under a simple heading such as “So Many Reasons to Be Thankful.” Leave enough room around each turkey for the feathers and dangling legs. The children’s drawings and words provide the details; the display does not need much else.
When the turkeys go home, invite families to ask about one feather. That keeps the conversation going beyond the craft table.
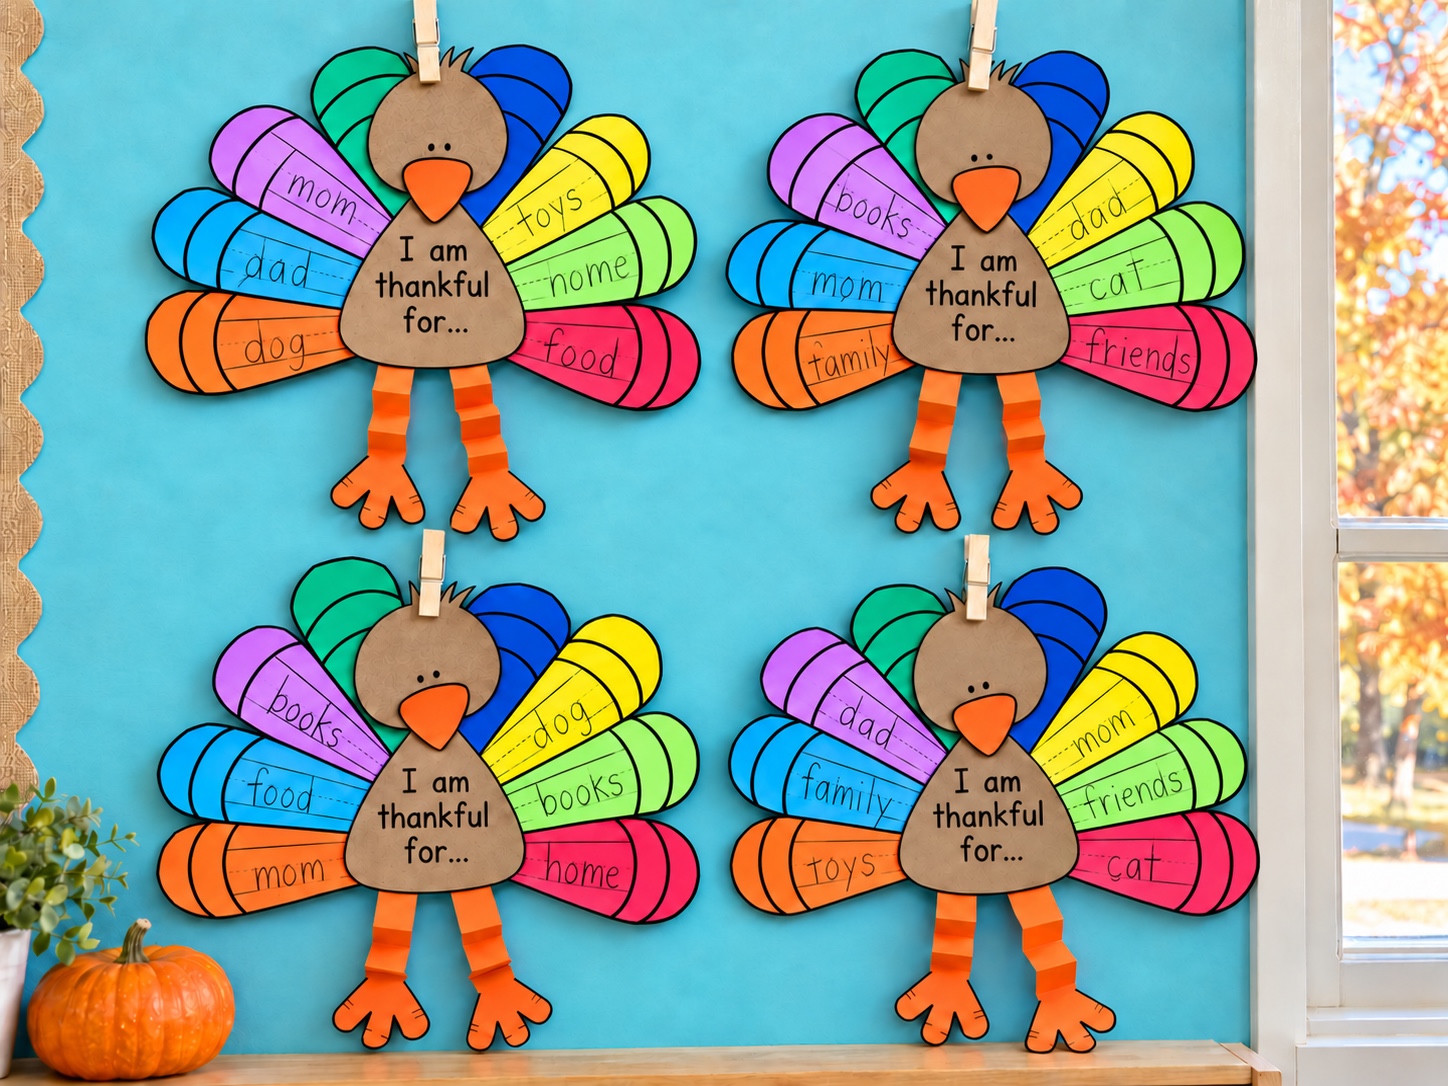
Ready to make your Thankful Turkeys?
The templates give you a starting point, while the children supply the ideas that make each turkey personal. Choose your paper, decide how much writing fits your group, and begin with a good conversation.
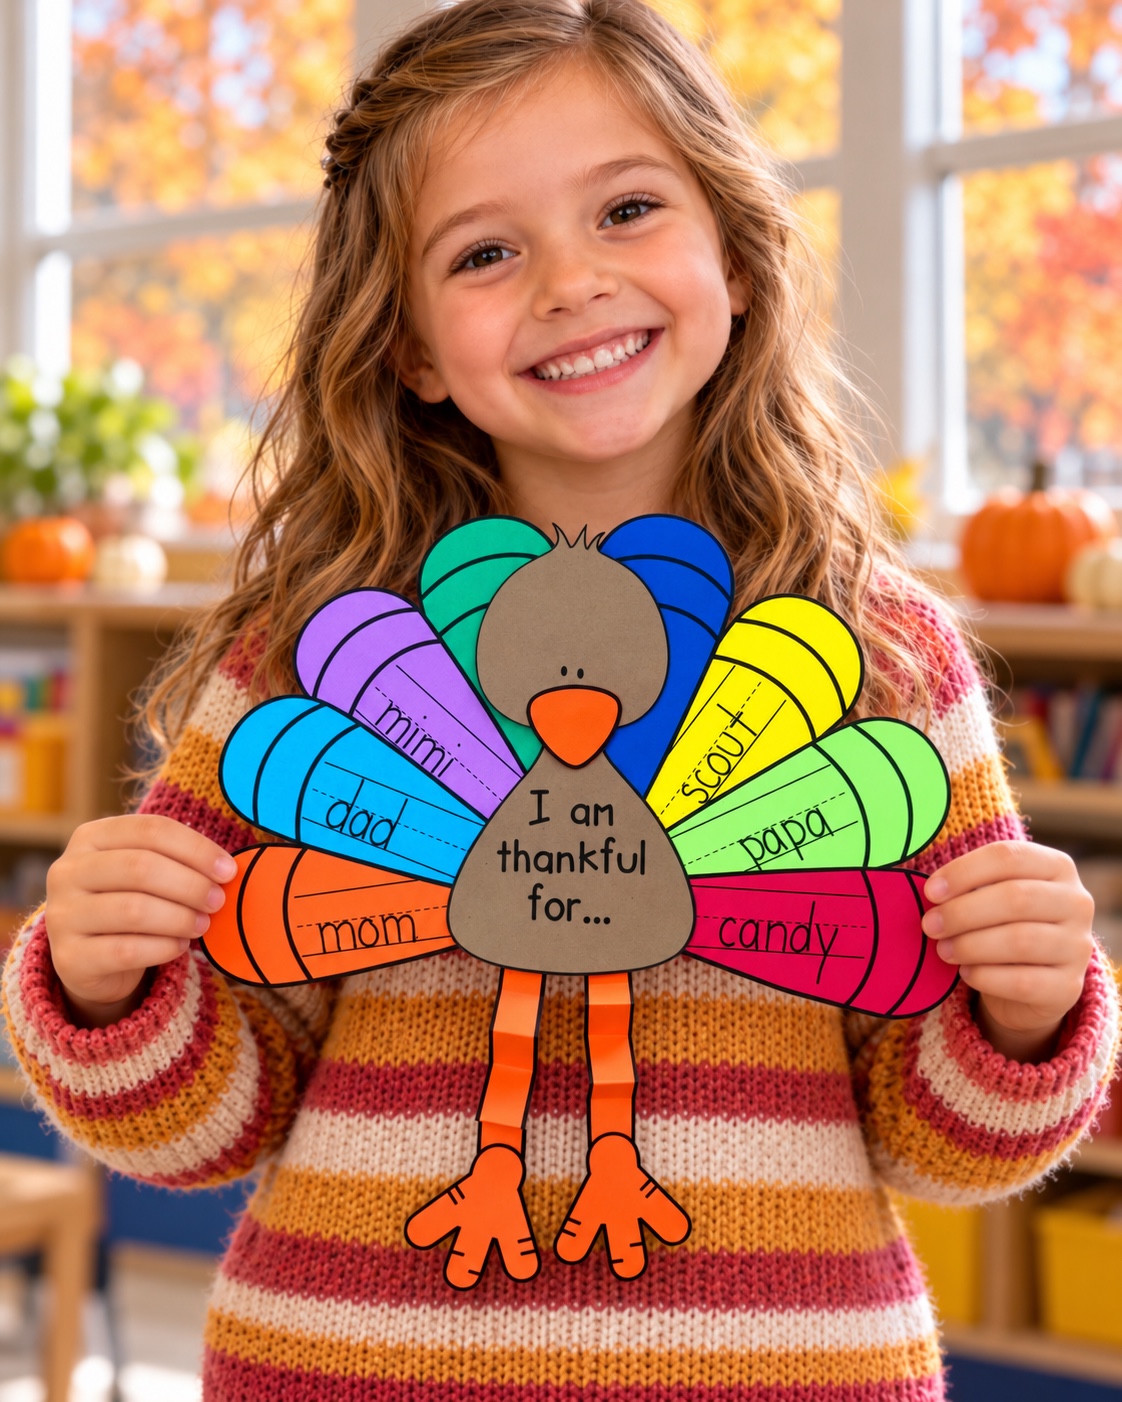
Find the Thankful Turkey craft and Thanksgiving writing activity in my TPT store.