

How to Catch a Turkey Writing Activity for Clear Sequencing
“First, catch the turkey.”
It is a wonderfully direct plan, but it leaves the reader with a few questions! What will you use? Where will the turkey go? What needs to happen before you can catch it?
A How to Catch a Turkey writing activity gives children a playful reason to work on those details. The goal is to help a reader follow a plan, one step at a time. Here is a way to move from excited turkey-trap talk to drawings and writing that make sense in order.
Give the writing a clear purpose
Tell children they are inventing a pretend plan for catching a turkey. Their job is to explain it well enough that someone else could understand what to do. Keep the plans imaginary, or test them with a paper turkey and classroom materials, never a real animal.
You can introduce the idea on its own. If you want a read-aloud first, How to Catch a Turkey by Adam Wallace, illustrated by Andy Elkerton, offers a school setting and a runaway turkey. Use your own copy of the book, then invite children to invent a new plan rather than copy the story's events. The writing activity does not require the book.
Talk through the steps before picking up a pencil
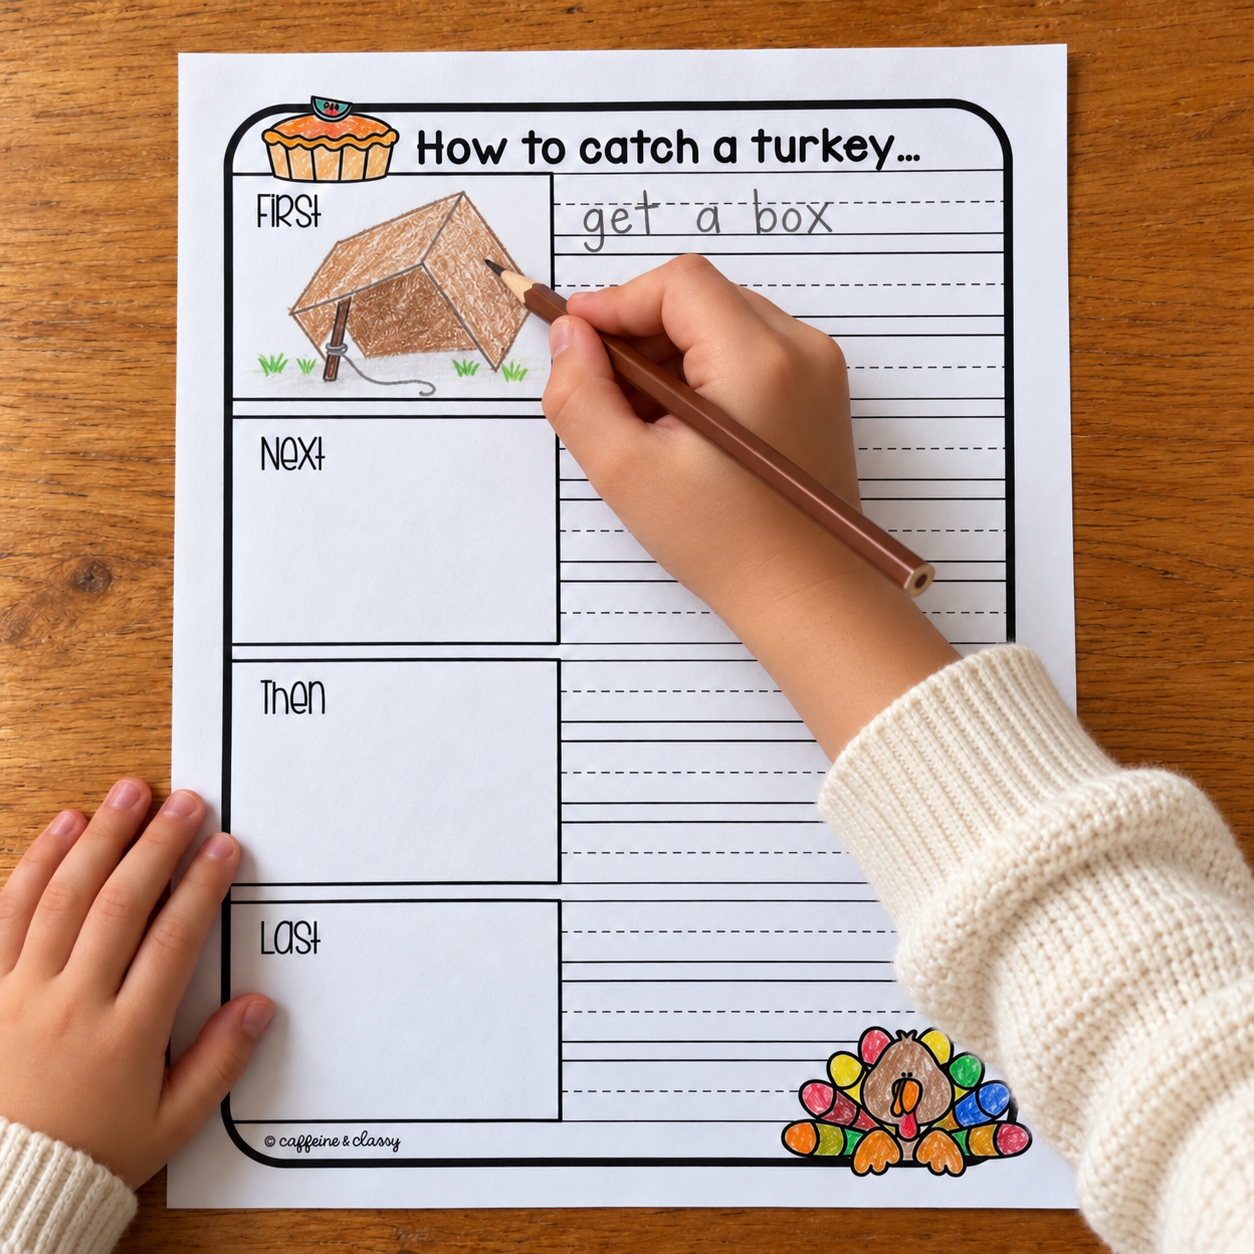
Show four spaces labeled First, Next, Then, and Last. Fold a piece of paper into four parts, use a whiteboard, or choose a planning page.
Model a short plan with a paper turkey and a box. Start with a deliberately incomplete direction: “Put it there.” Ask children what information is missing. Replace it with something more helpful, such as “Put the paper turkey beside the box.”
Then let partners explain their own ideas while pointing to the four spaces. The listener can ask:
- What will you need before you start?
- What do you mean by “it”?
- Where does that piece go?
- What happens between those two steps?
Younger children can use gestures or move materials as they talk. Keep the conversation focused on helping a reader, not on finding the most elaborate trap.
Sketch a plan and check the order
Have children sketch one action in each space. A quick drawing is enough. This is planning time, so there is no need to color every detail yet.
Ask them to point to each picture and tell the plan again. If the final picture suddenly introduces a box that never appeared earlier, pause there. “When did you get the box? Where could you show that?” Children can add or change a drawing before they have invested time in a finished page.
My How to Catch a Turkey resource includes four-part planning pages with picture spaces and both primary and single-line writing options. That gives you a choice of formats while the whole group works toward the same goal: a clear sequence.
Match the writing support to the writer
For beginning writers: Invite a drawing and an oral explanation for each step. Scribe the child's words when needed, read them back, and ask whether they match the intended plan. A child can also add labels for important materials.
For children writing short sentences: Rehearse one sentence at a time. Keep a small word bank nearby for useful words such as box, put, under, and close. Encourage children to attempt the words they can write independently.
For more experienced writers: Ask for a precise action and a useful detail. “Put the box down” might become “Put the open box beside the paper turkey.” Students can add a reason or explain why one step must happen before another.
A partner check works across these levels. Have the writer read or explain the plan while the listener points to the matching pictures. One unclear step is plenty to revise at a time.
Add a small math challenge
If your group would enjoy building, offer a few blocks, a box, and a paper turkey. This is an optional classroom extension, not an additional printable in the resource.
Choose one math focus. Younger learners might count how many blocks they used and match the total to a numeral. Children working on comparison can build two doorways and decide which is wide enough for the paper turkey.
For a measurement connection, line up equal-sized cubes across each doorway without gaps or overlaps. Count the cubes and compare the openings using the same kind of cube. Ask, “Which opening is wider? How do you know?”
Bring the observation back to the writing. If a doorway was too narrow, what changed in the plan? The math gives children a concrete detail to explain.
Save the craft for the publishing step
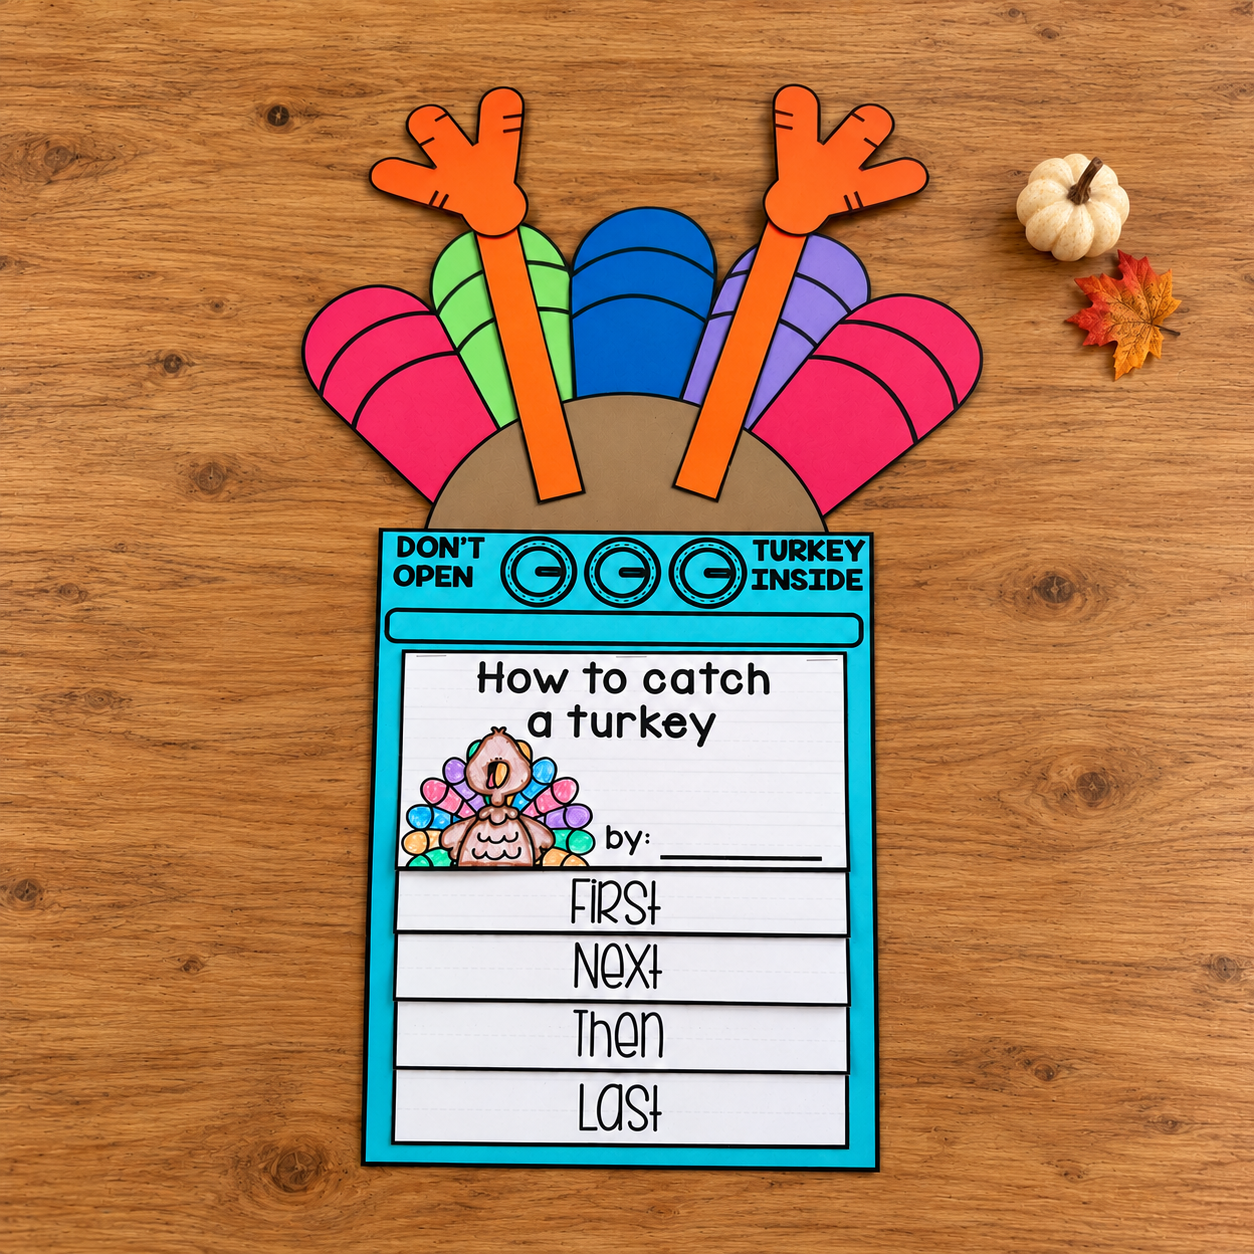
Once the writing is ready, children can transfer their plans to the flip-book pages, arrange the sequence, and assemble the craft. The resource includes the flip-book pages and craft blacklines; print the craft pieces on colored paper or let children color them.
Split the work into planning, writing, and assembly sessions if that suits your schedule. Keep each child's loose pieces in a labeled tray or folder, and check the page order before fastening the flip book.
Before displaying the finished turkeys, invite children to share one step they improved. Ask, “What did you add that will help your reader?” That question brings the attention back to the writing behind the colorful craft.
If you would like the planning pages, writing options, and craft pieces ready to print, take a look at my How to Catch a Turkey Writing Craft. You can use the same talk, sketch, write, and reread routine with the printable pages or with plain paper.